
I've spent years growing onions, and harvest time is where most people get it wrong. You plant in spring, watch the green tops grow, and then stand there wondering, is it ready yet?
In this blog, I'll show you when to harvest onions planted in spring, what signs to look for, and how to do it properly.
I'll cover timelines, onion types, common mistakes, and curing steps.
By the end, you'll know exactly what to do. No guesswork, no wasted crop, just results.
Understanding the Harvest Timeline for Spring-Planted Onions
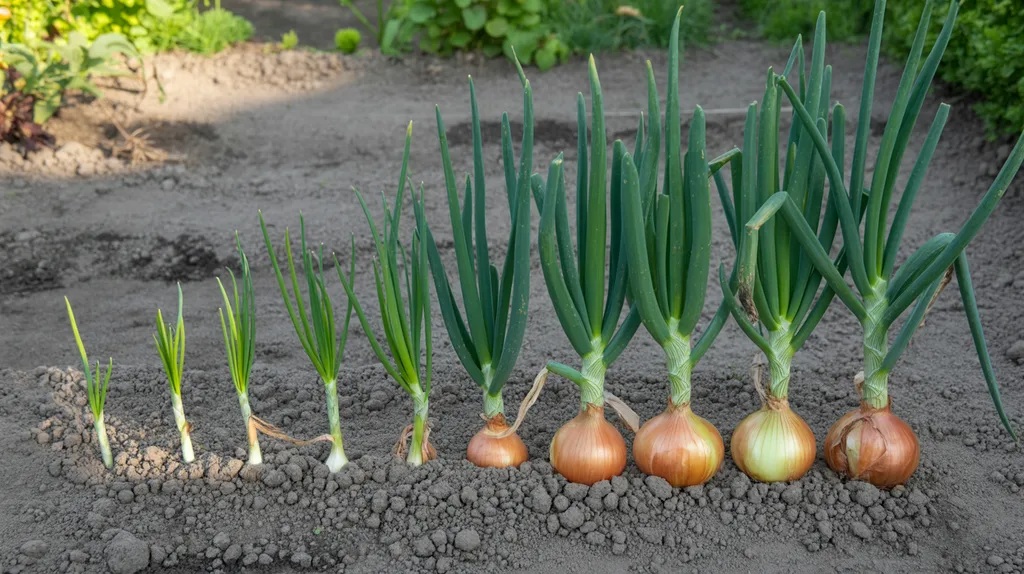
Spring-planted onions usually take 100 to 120 days to fully mature. That puts most harvests somewhere between late summer and early fall.
The exact timing depends on the variety you planted, your local climate, soil conditions, and whether you used seeds, sets, or transplants.
Seeds take the longest to mature. Sets and transplants tend to be faster.
I always mark my planting date on a calendar so I know when to start checking.
Counting days gives you a rough window, but the real clues always come from the plant itself. The calendar is just a guide. The plant is the real answer.
When to Harvest Onions Planted in Spring
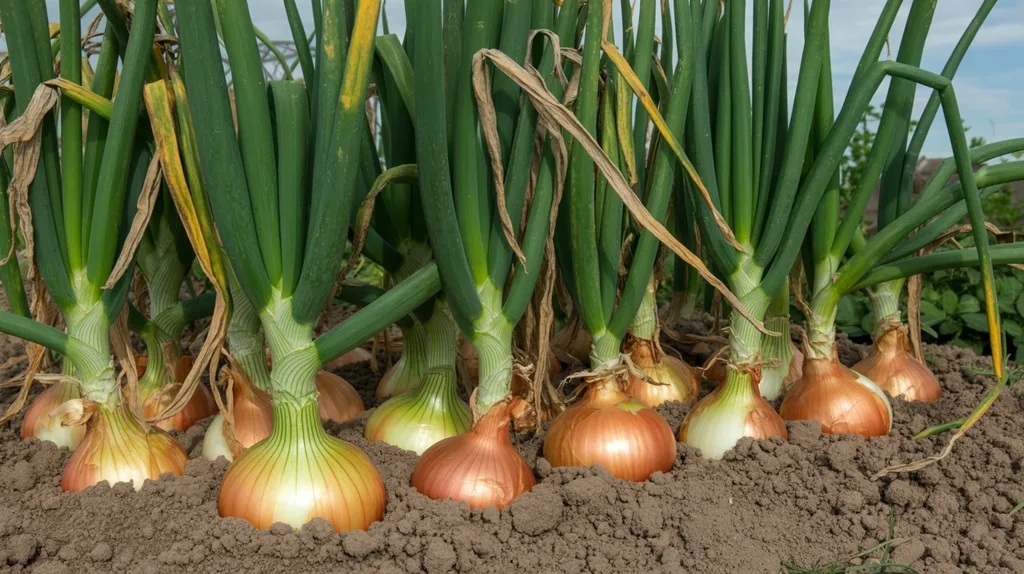
Most spring-planted onions are ready to harvest when the tops fall over naturally. This usually happens in late summer, around August or September, depending on where you live.
The plant gives you the signal. You just have to pay attention and not rush it.
I made the mistake once of harvesting early because the bulbs looked big. They didn't store well at all.
The necks were still soft and most of them rotted within two weeks. That taught me one important lesson. Let the plant tell you when it is ready, not the calendar, and not the size of the bulb.
Tips to time your harvest right:
- Wait until at least half the tops have fallen over on their own.
- Give the remaining ones a few more days before pulling everything.
- Do not rush just because a few bulbs look large.
Key Signs Your Spring-Planted Onions Are Ready to Harvest
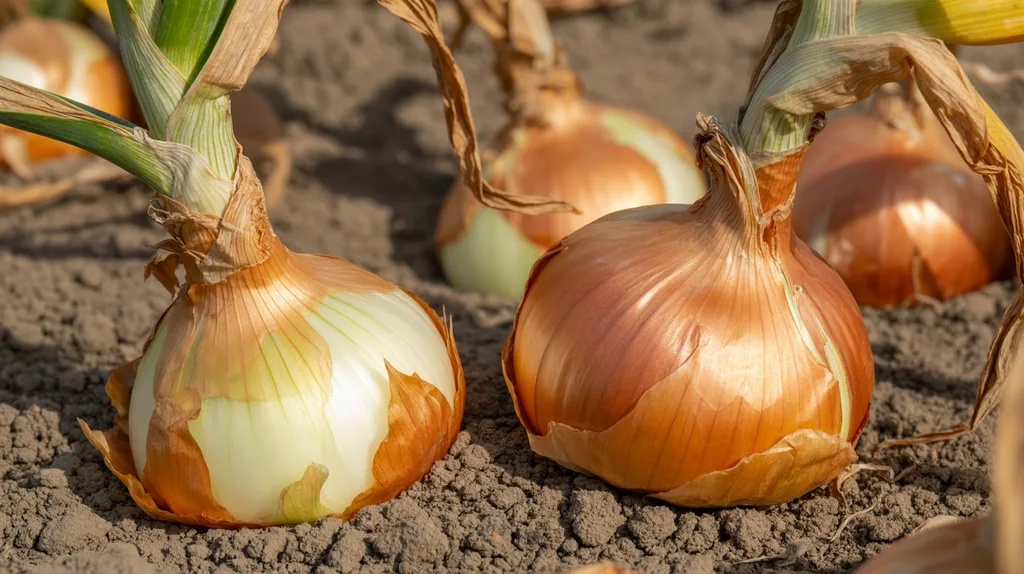
This is where most gardeners go wrong. They either wait too long or pull too early. The good news is the plant makes it clear when it is ready, if you know what to watch for.
The neck is the most reliable sign I check. A thick, green neck means the onion is still actively growing.
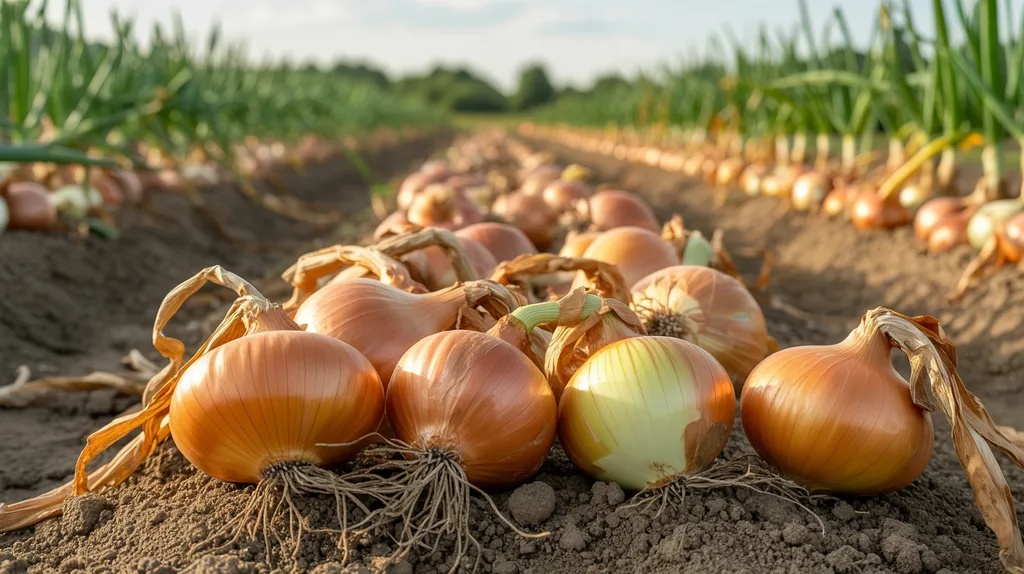
A dry, thin neck means it is done and ready to come out. The outer skin also starts to feel papery and tight.
The bulb feels firm when you press it gently. And growth has stopped, with no new green shoots pushing up from the center.
Signs your onions are ready:
- The green tops fall over and turn yellow or brown.
- The neck feels thin and dry, not soft or thick.
- The outer skin feels papery and tight around the bulb.
- The bulbs feel firm when pressed gently.
- No new green growth is visible.
How to Check Onion Maturity Before Harvesting
You do not need special tools. Just your hands and a little time. A few days before you plan to harvest, push aside the soil around one or two bulbs.
Check the size and feel. A mature onion should feel firm and solid, not spongy. Look at the neck closely. If it is dry and collapsed inward, that is a strong sign it is done.
I always do a test pull from a less visible corner of the bed. I cut one onion open and checked the inside.
If the layers are tight and the center is not hollow or soft, the rest of the bed is likely ready too. This small check takes just two minutes and can save your entire harvest from going to waste.
Harvest Timing by Onion Type
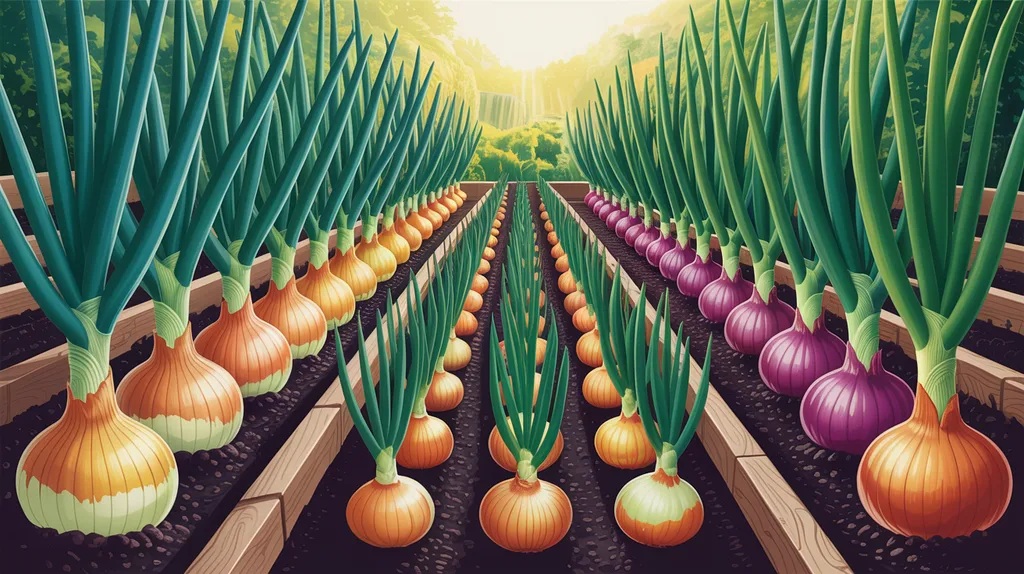
Not all onions follow the same schedule, and knowing your variety matters more than most people think.
Long-day onions like Walla Walla or Yellow Sweet Spanish need longer daylight hours to bulb up properly.
They grow best in northern regions and are usually ready in late summer.
Short-day onions like Texas Sweet or Vidalia bulb up with fewer daylight hours, grow better in the south, and tend to be ready earlier in the season.
Day-neutral onions like Candy or Super Star work in most climates and fall right in between the other two types.
I grow long-day varieties and they are usually ready for me in August. If you are not sure which type you planted, check your seed packet or look up the variety name.
Knowing this one detail removes a lot of the guesswork around timing.
How to Harvest Spring-Planted Onions Properly
Always pick a dry day to harvest. Wet conditions invite mold and make it harder to cure the bulbs afterward.
Use a garden fork to loosen the soil around each bulb before you lift it. Do not stab the bulbs. Lift by the base, not the tops, because pulling by the leaves can snap the neck.
Shake off loose soil but do not wash them. Lay them out flat in a single layer in a shaded, dry spot right away.
Tips for a clean and damage-free harvest:
- Use a fork to loosen soil before pulling each bulb.
- Handle every bulb gently since bruises lead to rot in storage.
- Never toss bulbs into a pile or knock them together.
- Keep them out of direct sun immediately after pulling.
What to Do Immediately After Harvesting

Right after pulling, onions need airflow and shade. Lay them out in a single layer in a well-ventilated spot away from direct sun.
Leave the tops and roots attached for now. Do not cut anything yet. Check on them each day and pull aside any bulb that feels soft or shows signs of rot before it spreads to the others.
I spread mine on a wire rack in my garage or on dry ground under a shaded tree. The goal at this stage is airflow on all sides.
This is the beginning of the curing process and it matters a lot for how long your onions will last.
Curing Onions for Better Storage
Curing is what separates onions that last a few weeks from ones that last six to eight months.
Leave them in a warm, dry, shaded spot with good airflow for two to three weeks. The ideal temperature is between 75 and 85 degrees Fahrenheit.
The outer skin should feel completely dry and crinkly when done. The neck should be fully sealed and tight with zero moisture left.
Once cured, trim the roots to half an inch and cut the tops down to about one inch above the neck. Store them in a cool, dark, dry place with good air circulation.
Curing tips for the best shelf life:
- Never cure in direct sunlight as it damages the outer skin.
- Make sure air can flow on all sides of each bulb.
- Check for soft spots during curing and remove bad ones right away.
- Do not rush. Two to three weeks is the minimum for proper results.
Conclusion
Knowing when to harvest onions planted in spring is really about reading your plants and trusting the signs they give you.
Check the tops, feel the necks, and always test one bulb before pulling the whole bed. Then cure them properly and store them in the right conditions.
I have seen this process go wrong when people rush it. Take your time. Follow each step.
When you do, the reward is onions that last well into winter from a single spring planting. That is absolutely worth the patience it takes.
What step in the harvest process feels most uncertain for you right now?
Frequently Asked Questions
How long after planting in spring are onions ready to harvest?
Most spring-planted onions are ready in 100 to 120 days. This usually puts the harvest window in late summer or early fall depending on your variety and climate.
Can I harvest onions before the tops fall over?
It is best to wait until the tops fall naturally on their own. Harvesting too early results in soft, moist necks and very poor storage life.
Should I water onions right before harvesting?
Stop watering about one to two weeks before you plan to harvest. Dry soil helps the outer skin firm up properly and reduces the chance of rot setting in.
Do all onion varieties take the same time to mature?
No, they do not. Long-day, short-day, and day-neutral onions all mature at different rates. Always check your seed packet for the days to maturity for your specific variety.
How do I know if my onions are properly cured?
Properly cured onions have fully dry, crinkly outer skin and a tight, sealed neck with no moisture. This process generally takes two to three weeks in a warm, shaded, well-ventilated space.