Have you ever lost tomatoes to blossom-end rot? I’ve been there, and it’s frustrating to watch your hard work go to waste.
The good news is that bone meal can help you avoid this problem while giving your tomato plants what they need to thrive.
Bone meal strengthens roots, supports better flowering, and helps prevent that dreaded dark spot on your tomatoes.
But here’s what most gardeners struggle with: figuring out the right amount to use. Too little won’t make a difference, and too much can cause new issues.
Let me show you exactly how much bone meal your tomato plants need for the best results.
What Is Bone Meal and Why Do Tomatoes Need It?
Understanding this natural fertilizer helps you make better choices for your tomato plants and avoid common growing problems.
Bone meal is a natural fertilizer that comes from ground animal bones.
It’s packed with two nutrients your tomato plants crave: phosphorus and calcium. These minerals work together to support healthy growth from the roots up.
You can find bone meal at most garden centers. It usually comes as a dry powder or granules that you mix into the soil.
Benefits for Tomato Plants
Your tomato plants need bone meal for several important reasons.
First, it helps develop strong, deep roots that can absorb water and nutrients better. Second, it encourages more flowers, which means more tomatoes for you to harvest.
Calcium from bone meal prevents blossom-end rot. This condition shows up as dark, sunken spots on the bottom of your tomatoes. It happens when plants don’t get enough calcium, and bone meal solves this problem naturally.
The best part? Bone meal releases nutrients slowly over time. Your plants get a steady supply of what they need instead of a quick burst that fades fast.
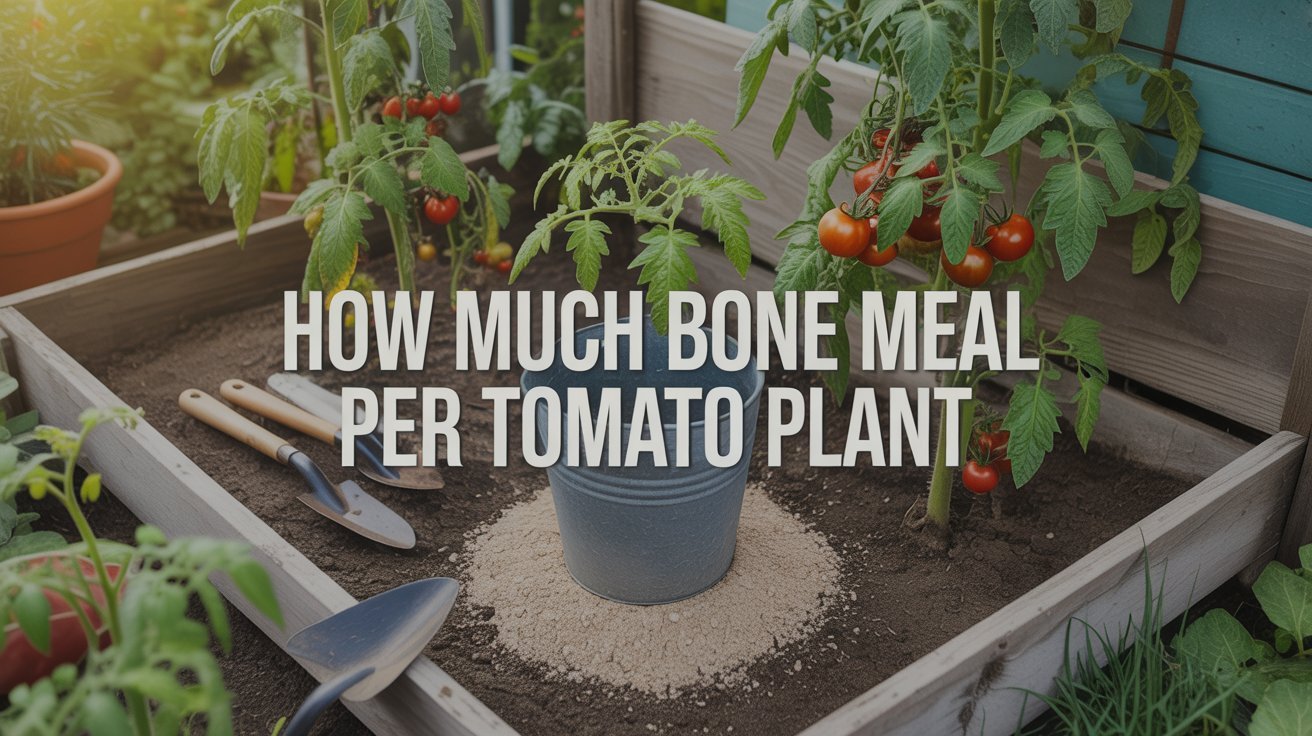
Recommended Bone Meal Amounts Per Tomato Plant
Getting the amount right makes all the difference. Here’s how much bone meal to use based on your growing setup.
For Individual Transplants
When you’re planting single tomato plants, add 1 to 2 tablespoons of bone meal to each planting hole. Mix it well with the soil before setting your plant in.
If you’re growing larger tomato varieties like beefsteaks, stick to 2 tablespoons. Smaller varieties like cherry tomatoes do fine with 1 tablespoon.
For Garden Beds or Multiple Plants
Planning a bigger tomato patch? Use about 10 pounds of bone meal per 100 square feet of garden space. Work it into the top 6 inches of soil before planting.
Your soil might need more or less depending on its current condition. Test your soil first if possible. Clay-heavy or nutrient-poor soil may need the full amount, while rich soil needs less.
Timing of Application
Timing matters just as much as quantity. Here’s when to apply bone meal for best results.
Start at planting time with 1 to 2 tablespoons in each hole. When your plants begin flowering, add a light side dressing around the base. Sprinkle about 1 tablespoon per plant and gently work it into the top inch of soil.
Apply another light dose when the first fruits start forming. This supports fruit development and prevents blossom-end rot during the critical growth phase.
For indeterminate varieties that keep growing all season, add a maintenance application mid-season. This keeps nutrients available as plants continue producing.
How to Apply Bone Meal Effectively

Applying bone meal correctly protects your plants and gets you better results. Follow these methods for safe, effective use.
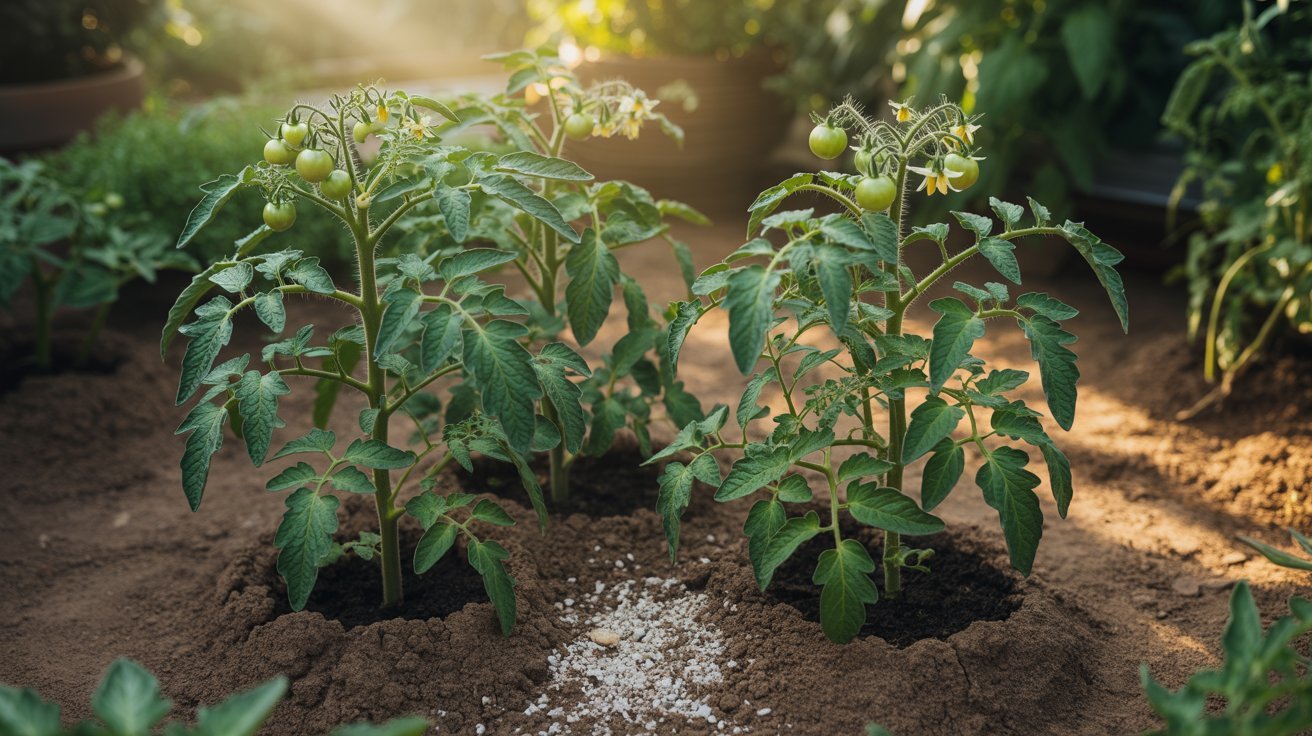
Planting Hole Method
Dig your planting hole and add the bone meal to the soil at the bottom. Mix it thoroughly before placing your plant.
Never let bone meal touch the roots directly. It can burn tender root tissue and harm your plant. Always mix it well with soil first to create a safe buffer.
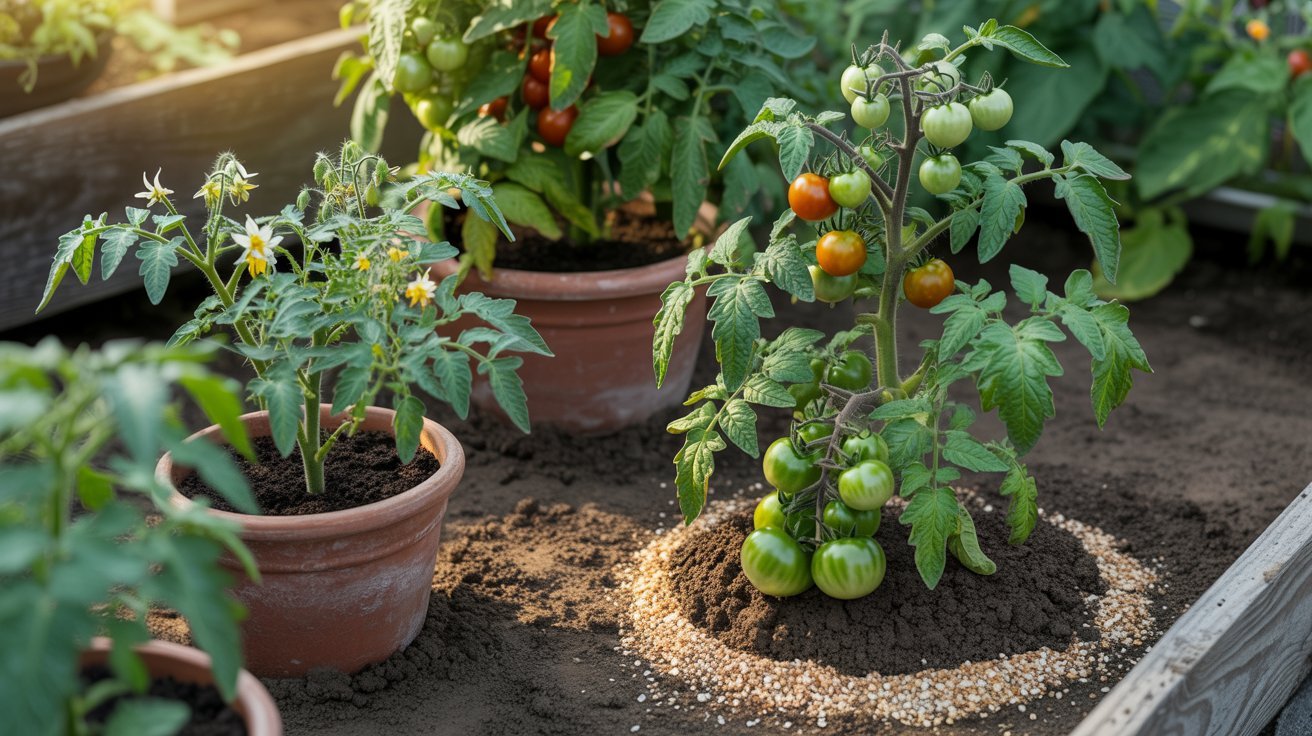
Side Dressing for Established Plants
Sprinkle bone meal in a circle around each plant, staying 2 to 3 inches away from the stem. Use about 1 tablespoon per plant.
Gently scratch it into the top inch of soil with your fingers or a small hand tool. Water the area well so nutrients can reach the roots.
Combining with Other Organic Amendments
Bone meal works better when paired with other organic materials. Compost adds beneficial microbes and improves soil structure. Vermicompost helps plants absorb nutrients more efficiently.
Not comfortable using animal products? Rock phosphate makes a good substitute. It provides phosphorus without animal ingredients.
Precautions and Potential Issues
Bone meal is safe when used correctly, but a few things can go wrong. Here’s what to watch out for.
Over-Application Risks
More isn’t always better with bone meal. Too much phosphorus can actually harm the beneficial microbes in your soil. These tiny organisms help your plants absorb nutrients, so damaging them hurts your garden.
Excess phosphorus doesn’t stay put either. It can wash away during rain and end up in nearby streams or ponds. This causes problems for fish and other aquatic life.
Stick to the recommended amounts. Your plants will do better, and you’ll protect the environment too.
Soil Considerations
Your soil’s pH level affects how well plants can use bone meal. Tomatoes absorb nutrients best when soil pH stays between 6.0 and 7.0.
Test your soil before adding bone meal. You can buy simple test kits at garden centers or send samples to your local extension office. Testing prevents you from adding nutrients your soil already has plenty of.
If your pH is off, fix that first. Bone meal won’t help much in overly acidic or alkaline soil.
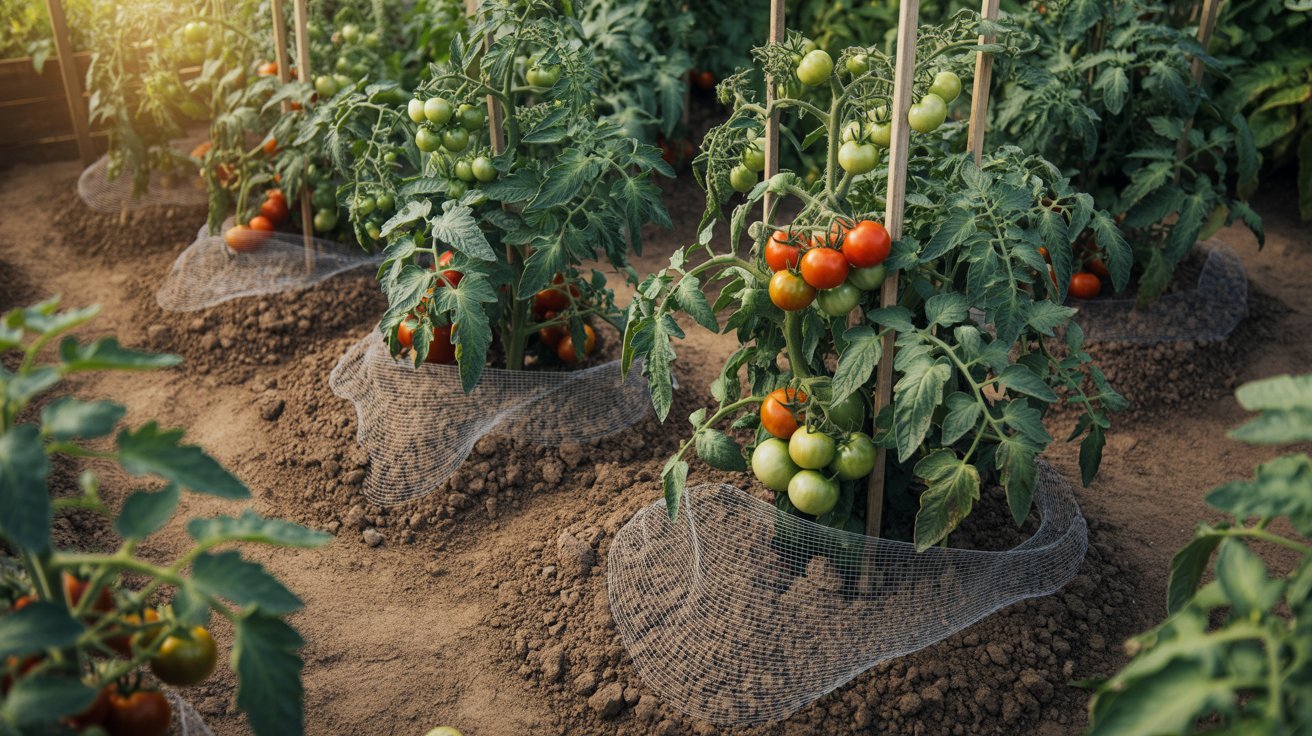
Animal Interference
Here’s something many gardeners learn the hard way: animals love the smell of bone meal. Dogs, raccoons, and other wildlife will dig up your garden to get to it.
Always mix bone meal thoroughly into the soil. Don’t leave it sitting on top where curious pets can find it. Some gardeners cover freshly planted areas with chicken wire for a few days until the scent fades.
Keep your dog away from the garden right after application. Eating bone meal can upset their stomach.
Conclusion
After years of growing tomatoes, I’ve learned that success comes down to starting with the right amounts and paying attention to what your plants tell you.
Begin with the recommended 1 to 2 tablespoons per plant, then adjust based on how your tomatoes respond.
Remember, bone meal is just one piece of the puzzle. Healthy soil, proper timing, and regular monitoring matter just as much.
Test your soil before you start, apply bone meal at the right stages, and watch how your plants grow.
Your tomatoes will reward you with stronger roots, more flowers, and that perfect harvest you’ve been hoping for.
Frequently Asked Questions
Can I use bone meal on tomato seedlings?
Wait until transplanting time to add bone meal. Seedlings have delicate roots that don’t need heavy fertilization yet. Once you move them to larger pots or the garden, that’s the right time to start.
How long does a bone meal take to work?
Bone meal releases nutrients slowly over several weeks. You’ll start seeing benefits in root growth within 2 to 3 weeks. The full effects on flowering and fruit production show up after 4 to 6 weeks.
Can I mix bone meal with water and apply it as a liquid?
Bone meal doesn’t dissolve well in water, so liquid application isn’t effective. It works best when mixed directly into the soil where microbes can break it down. Stick to the dry application methods for better results.
Is bone meal safe for organic gardening?
Yes, bone meal is approved for organic gardening. It’s a natural product made from animal bones with no synthetic chemicals. Just make sure the package says it’s certified organic if you’re following strict organic standards.
What happens if I forget to add bone meal at planting time?
You can still help your plants by dressing them later. Apply bone meal around the base of established plants and water it in well. Your tomatoes will still benefit, though early application works best.